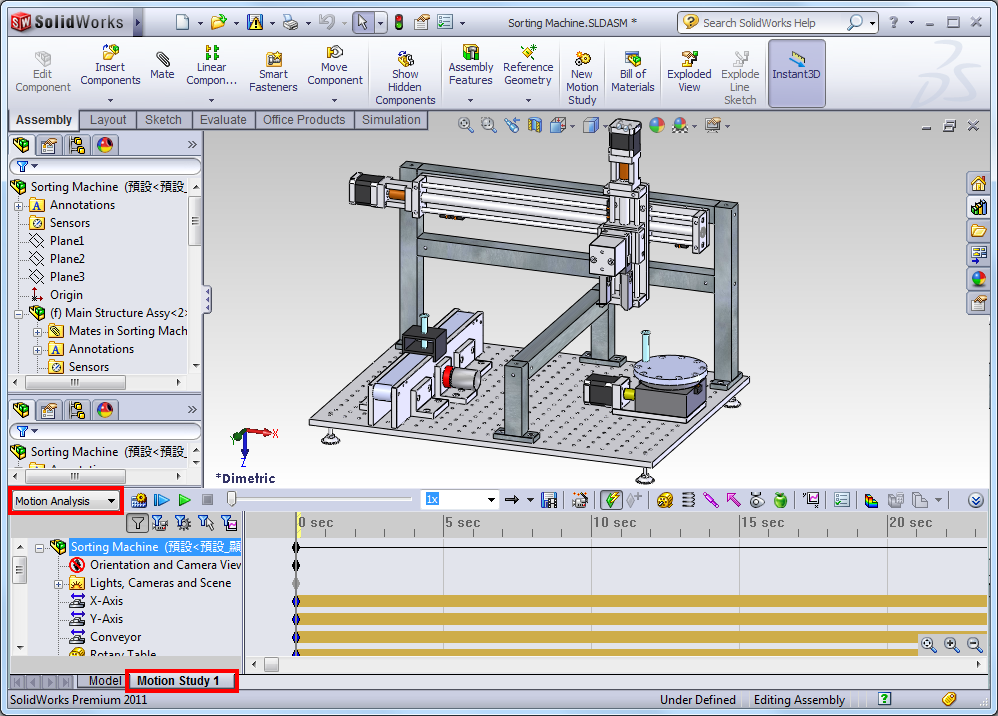
Designing Your Model for 3D Printing- From SolidWorks to Prototype 3d Printing is a subject that is on every designer and engineers minds these days. The increase in the array of technologies and affordable solutions accessible in the market, only mean that the alternative to using prototyping tools to prove a design is easily accessible to us than ever before. So, after we have used SolidWorks to confirm those last details, how do we make the switch from SolidWorks to a 3D printed model?
STL files are accepted as the standards of the industry when it comes to quick prototyping. It is a single format that can be output by a few CAD programs that can be understood by a big majority of prototyping tools.
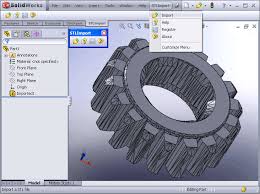
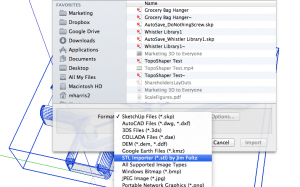
STL or Standard tessellation language is a 3D file format that uses triangles to describe the outer surfaces of a 3D model. There are no colors, textures or additional attributes. How can a student or anyone else create an STL file? It is quite simple. With your assembly opened in SolidWorks, simply click on file then saves as to open the save as window. Then go to the drop down to choose. STL from the list.
This technique of saving a .stl file will generate the file with the default resolution settings.
Nevertheless, these settings may not be ideal for your printer and could have a bad effect on the quality of the 3D print. So, to avoid all this, you should consider making the changes to ensure you have the right settings.
These settings are often thought of as resolutions or accuracy. In simple words, if one were to consider the idea of changing a round sphere to a sphere created with triangles. The larger the triangles, the coarser the resolution of the .stl files and vice versa. We have the confidence to control how the triangles were created when the .stl file is generated, so we can select the coarse or fine the model is. But why is it so? The reason behind is that it can have a direct effect on the quality of the printed 3D model. If the settings are course contrary to the resolution of the 3D printer, then the printer can print the definition of the triangles and the model will appear faceted, diverting from the shape of the intended design. If the model is too fine, the file will be large and will take time to process which can be tough to handle.
In the save as window, after selecting .stl as the save kind, an option box will be available. Click on the options to adjust the settings. 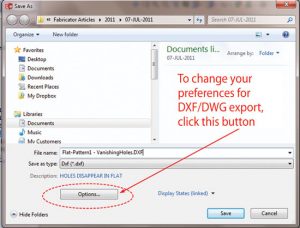
You a choice of saving the STL files in either Binary or ASCII format. Binary files are smaller so it is usually preferred. On the other hand, ASCII files can be read and checked.
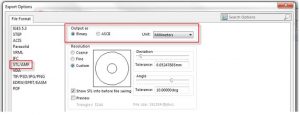
In the resolution settings, there are two default and custom options. Depending on the resolution of the printer, it is ideal to choose the custom option to control the resolution the way we want.

Hi, I am Stella Adam, holding a Master’s in Educational Technology from a well-known university and currently working on innovating the educational procedures and developing digital materials for higher education (Study Material). My aim in life is to make learning more accessible, interesting and beneficial, which is why I am working as a Senior Writer with Online Assignment Expert. I have won several awards in the educational field for introducing several e-learning modules.
Get
500 Words Free
on your assignment today